


How to Make Perfect Dough in a Bread Machine
Preparing brioche dough by hand is an art that requires time, physical effort, and a deep understanding of fermentation processes. Using a bread maker fundamentally changes your approach to baking: the device not only handles the most labor-intensive part of the process — kneading — but also creates the ideal microclimate for the dough to rise. Let’s look at how to create classic brioche dough, which will serve as a universal base for your most delicious creations: from fluffy buns to festive braided loaves.
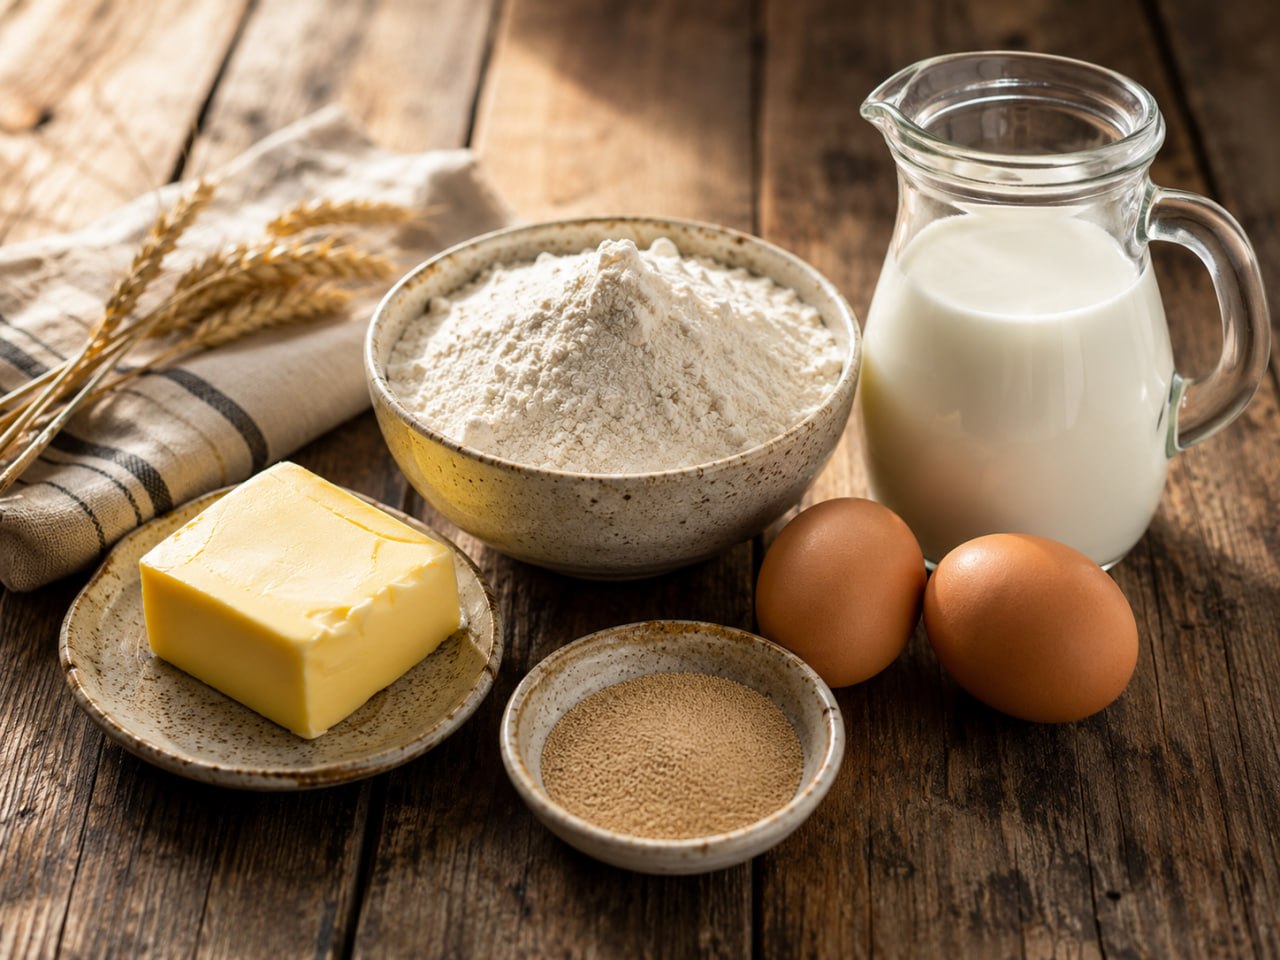
Ingredients for a Successful Result
The quality of your baking depends 80% on the proper selection and preparation of ingredients. Brioche dough contains many "heavy" components (fats, sugar, eggs). These components slow down yeast activity and gluten development.
Choosing Flour and Its Impact on Structure
Gluten quality is determined by the protein content in the flour. For brioche, an ideal indicator is 11.5–12.5% protein.
Low protein content (<10%): the dough will be too soft, "spread" during proofing, and the finished products will not hold their shape.
High protein content (>13%): the dough becomes "rubbery" and difficult to chew.
Always sift your flour — this saturates it with oxygen, creating a light "cloud" that ensures active dough growth and uniform crumb porosity. Also, pay attention to the humidity of the flour — in rainy weather, it may require less liquid.
Classification of Yeast for Automatic Appliances
Fast-acting dry yeast (Instant yeast) is best for bread makers. It has a fine granulation and does not require pre-activation in warm liquid.
Why not fresh yeast?-Fresh compressed yeast requires precise humidity control. In a bread maker, it may dissolve prematurely upon contact with liquid if the kneading cycle is long.
Storage: always check the airtightness of the packet. Oxygen oxidation is the main reason why dough "fails to rise."
The Role of Fats and Temperature in Forming Structure
Butter acts as a gluten "softener." It is important to add the butter softened (not melted!) at the stage when the main dough ball has already formed. Melted butter can oversaturate the flour, which will prevent the formation of a firm structure. The temperature of the liquid (milk) should be 28–30 °C (82–86 °F). Cold ingredients will slow down yeast activity, while temperatures above 40 °C (104 °F) will kill them.
Basic Proportions for Classic Brioche Dough
Different types of sugar act on the dough differently. Brown sugar gives baked goods a caramel hue and aroma, but it hydrates the dough more than white sugar. If you use liquid honey instead of sugar, be sure to reduce the milk amount by 10–15 ml, as honey contains a significant percentage of water.
Step-by-Step Loading Algorithm
The correct loading sequence is the foundation of successful automation. Most manufacturers recommend adding liquid components first, followed by dry ones.
Liquid phase: milk, eggs, salt, and sugar. Dissolve the salt and sugar crystals in the milk so they do not scratch the non-stick coating of the pan during kneading.
Flour barrier: pour the flour in so that it completely covers the liquid.
Final layer: make a small indentation in the top layer of flour and place the yeast there. This "insulation" will allow the yeast to activate only when the paddle begins to turn.
Consistency Control (The First 10 Minutes)
This is the only stage where you should watch the process. The "dough ball" should be smooth, elastic, and slightly moist to the touch; it should stick slightly to your fingers when pressed, but the walls of the pan should remain clean. If the dough is smearing — add flour (1 tbsp), if it is too dry — add water (1 tsp). Be sure to use the specialized "Dough" mode — it provides the optimal temperature, allowing the dough to achieve the necessary porosity without overheating the fats.
.jpg)
During this stage, remember two "golden rules" for working with the device:
Program selection: always use the specialized "Brioche" (or "Sweet") mode. Unlike the "Basic" mode, it has extended proofing cycles and a more delicate kneading rhythm. Since brioche dough is heavier due to the large amount of fats and sugar, it needs more time for quality gluten development and full fermentation.
Closed-lid rule: a bread maker is not just a mixer; it is a chamber with a stable microclimate. Every time the lid is opened, it leads to a temperature drop and loss of humidity. As a result, delicate brioche dough can "collapse" instantly and never rise again. Therefore, observe the "dough ball" only through the viewing window without disrupting the isolation of the working chamber.
The "Windowpane" Test
This is a professional technique for checking if the dough is ready. Pinch off a piece of dough and gently stretch it with your fingers. If a thin, translucent film forms that doesn't tear, the gluten is perfectly developed. This is your guarantee that the brioche will be airy and won't go stale quickly. If the dough tears when stretched, give it more time to rest or continue kneading.
.jpg)
Professional Secrets to Shaping Products
When the bread maker completes its work, you are left with perfectly kneaded dough. This is where the creative process begins.
Degassing and Resting Stage
Remove the dough to a work surface. It is important to gently but firmly press it down, removing the excess carbon dioxide that accumulated during fermentation — this ensures uniform crumb porosity. Afterward, cover the dough with a clean towel and let it "rest" for 15 minutes. This short period of rest allows the gluten, which was intensely developed by the bread maker’s paddle, to relax. Thanks to this, the dough becomes pliable, stops "shrinking" when rolled out, and is easier to shape.
Technique for Handling Brioche
When shaping, avoid using excessive flour for dusting — it "clogs" the structure, making the baked goods heavy and tough. The best way to prevent sticking is to grease your hands and the work surface with a small amount of oil. This preserves the airiness and tenderness of the brioche dough without upsetting its balance.
.jpg)
The Art of Braiding
Classic Braid: braid loosely without stretching the strands, so the dough has room to grow while baking.
Rose Buns: roll out a sheet, brush with butter, sprinkle with filling, roll into a log, and cut into equal pieces. Lay them cut-side up for an impressive look.
Knots: form a rope and tie it into a light knot — this creates an interesting rustic shape that holds the filling well inside.
Final Proofing
After shaping, transfer the products to a baking sheet and leave them in a warm place (ideally 30–35 °C / 86–95 °F) without drafts for 20–40 minutes. The products should nearly double in volume. Do not rush to put them in the oven: if the dough hasn't reached the right stage of proofing, the yeast will continue to "explode" from the heat, which inevitably leads to cracks in the crust. Determining readiness for baking is simple: gently press the product — the dough should slowly spring back to its original shape.
Baking and "Gloss"
Before putting the tray in the oven, brush the surface of the brioche with an egg-wash (egg mixed with milk or a yolk alone). This will give the finished product a professional, appetizing glossy shine. Bake at 180 °C (350 °F). Since brioche dough contains sugar, it caramelizes and browns much faster than regular bread — check the crust readiness in 15–20 minutes. If it darkens too intensely, cover the products with foil until the process is complete.
Oven's microclimate is also important. If you have a convection mode, it is recommended to lower the temperature by 10–15 °C to avoid drying out the top layer of the brioche before the center is baked through.
Ideal Fillings for Brioche Dough
The filling is the soul of brioche. The main goal when working with it is to prevent excess moisture, which can make the dough "soggy" on the inside.
Poppy seed filling: steam the poppy seeds with boiling water, cook with milk, and then be sure to squeeze them through cheesecloth. Add honey or sugar only after the mass becomes dry — this guarantees that the filling won't leak out.
Cheese (Curd) filling: to keep the cheese from "melting" during baking, add a spoonful of cornstarch or semolina to it. Avoid using cheese that is too wet — pre-press it to remove excess moisture.
Fruit fillings: before using frozen or fresh berries and fruits, toss them with a small amount of cornstarch. It will "seal" the juice inside each piece, keeping the dough structure airy.
.jpg)
Evolution of Taste: How to Change the Basic Recipe
Milk base: replacing milk with cream will make the baked goods extremely tender but slightly heavier. Kefir adds a subtle tang and makes the crumb finer-pored.
Spices and aromatics: adding cardamom, vanilla, or citrus zest is best done during the second kneading. This releases the aroma of the ingredients without suppressing the yeast activity.
Add-ins: add nuts or dried fruits only after the bread maker’s sound signal. Toss them in flour beforehand — this way they will distribute evenly in the dough and won't sink to the bottom.
Master’s Checklist to Avoid Errors
Avoid an "alcoholic" aftertaste: never leave the finished dough in the pan after the program ends. In the closed chamber, it continues to overheat, which stimulates acetic acid fermentation and ruins the taste.
Baking the center: if the crust is already golden but the inside seems raw, lower the temperature by 15 °C and let the product "finish" for another 5–7 minutes.
Temperature stability: avoid kitchen drafts during proofing. If the room is cool, you can place the products in a turned-off oven next to a glass of hot water to create a steam bath.
Component interaction control: if your bread maker has a timer function (delayed start), make sure the yeast does not contact the liquid before the kneading begins. Create a deeper hole in the flour than usual, or place the yeast on a mound of flour as far as possible from where you pour the milk. This eliminates the risk of premature fermentation while in standby mode.
Cool the finished goods exclusively on a wire rack to avoid condensation and soggy bottoms, then store them in a paper bag. If you want to keep your brioche for a long time, freeze a portion after it has fully cooled. To bring back the aroma of freshly baked goods, simply reheat them in the microwave for 30 seconds.
Now, you have a professional base — perfectly kneaded dough, created without unnecessary effort. Understanding the nuances of working with yeast and proper final processing turns you into a master of your own kitchen. From now on, every pie, every bun, or festive loaf you make will rival the perfection of the best bakeries. The world of baking is limitless: change shapes, play with textures and flavors, knowing that the technical foundation will always be flawless. Feel free to open up new recipes — your bread maker is ready for any culinary challenge, and you now know exactly how to get the most out of it.